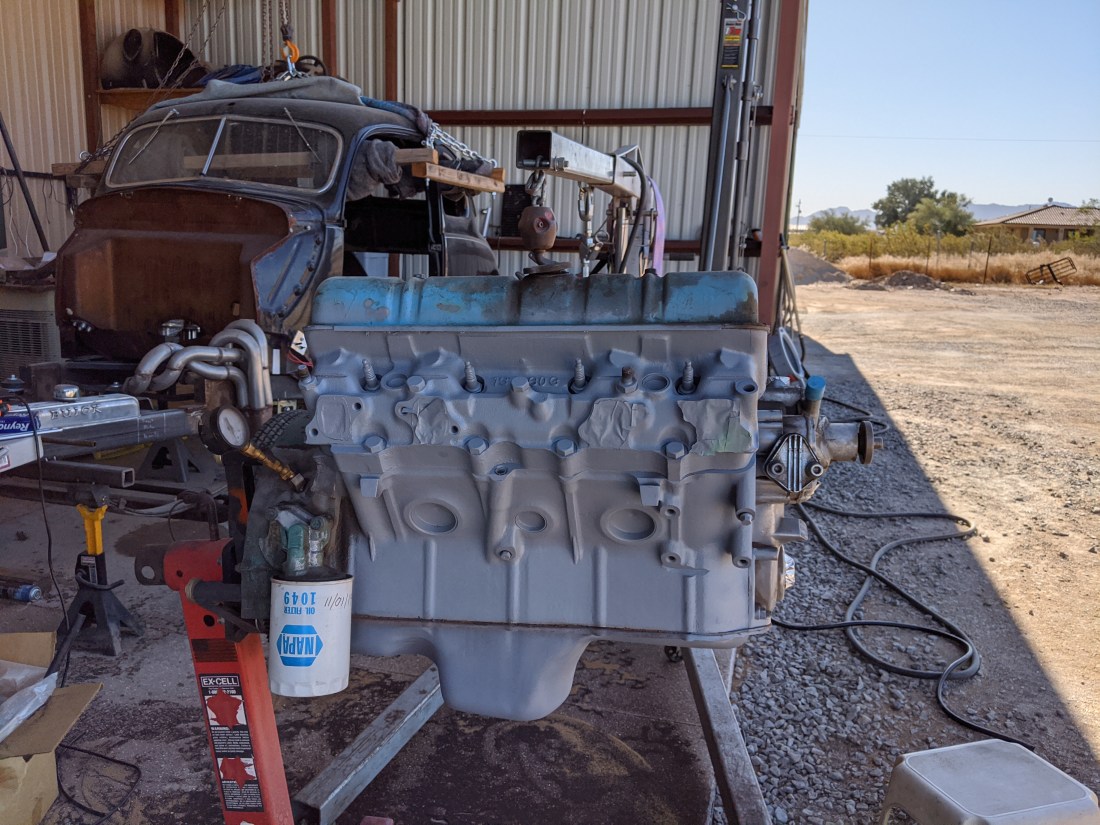
The first light coat of Buick Green goes on. I will add another coat a little heavier and then add on things like the intake manifold, engine mounts, water pump, fuel pump etc


The first light coat of Buick Green goes on. I will add another coat a little heavier and then add on things like the intake manifold, engine mounts, water pump, fuel pump etc
With the block primed and most of teh external sheet metal components installed the painting with VHT Engine High Temp Buick Green paint can begin. Two light coats and one heavy coat.
I am going to paint the intake manifold, motor mounts and some other parts before I mount them on the motor because area underneath these components will be painted first. 
All of the pieces for the engine dress have been cleaned, blasted and primed and the block has been blasted for rust and old paint so I am ready to start putting the motor componets on the block and start painting it.


While the final pieces are being blasted for priming for installation I wanted to seal up the engine and power wash it.


I installed spare valve covers, lifter valley cover, and oil pan. I cleaned up the matting surfaces and then sealed the openings on the block and heads including water jackets, intake and exhaust ports etc.


With the top end of the engine sealed up I flipped the motor over on the stand and installed an oil pan with RTV to keep the water out of the bottom end.


With the engine sealed up it is ready for a good soaking of Gunk and exposure to the sun to get bake in before power washing.

After a good soaking of Gunk and a days warm up in the Arizona Sun on a 104 degree day I was ready to hit it with the power washer to see what it looked like under 50+ years of oil and grease and dirt.
After a good wash and a little more sun to dry I have a good idea of what the motor looks like and what will need to be done to prep it for installation of the blasted and new parts and priming for paint.


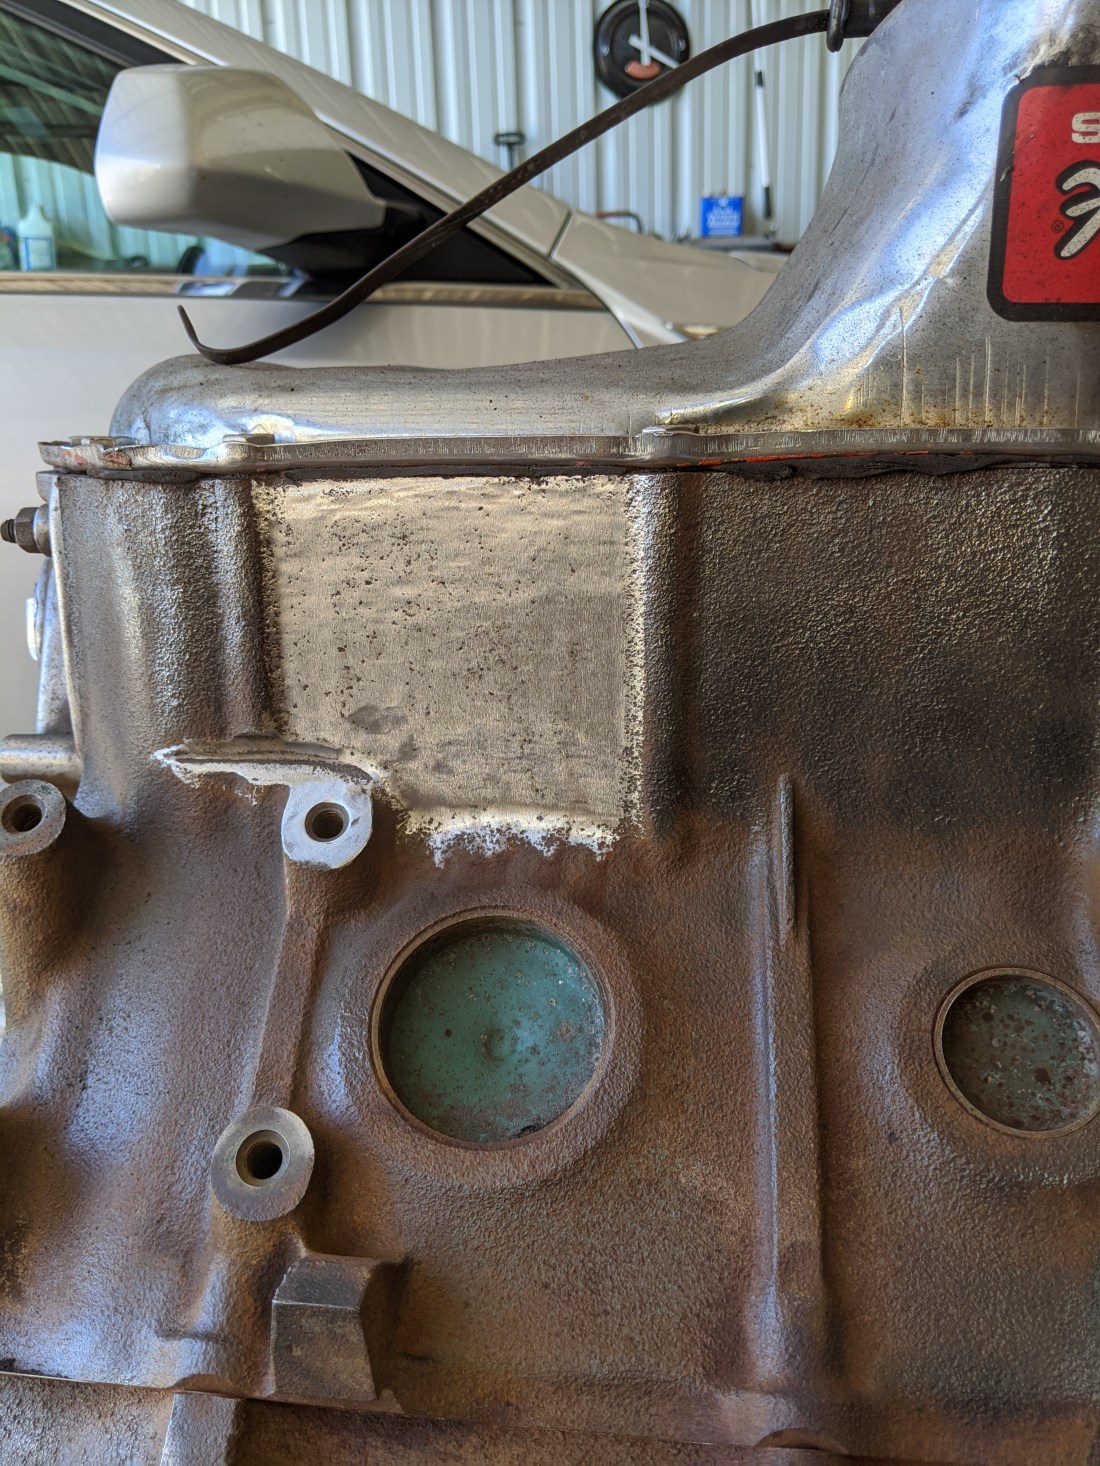
With most of the grease and dirt gone what is left is rust and stubborn backed on oil , some paint, casting and edges that I will remove before priming. I made a pass with some wire wheels that took off the remaining oil and dirt leaving only the rust and casting flash


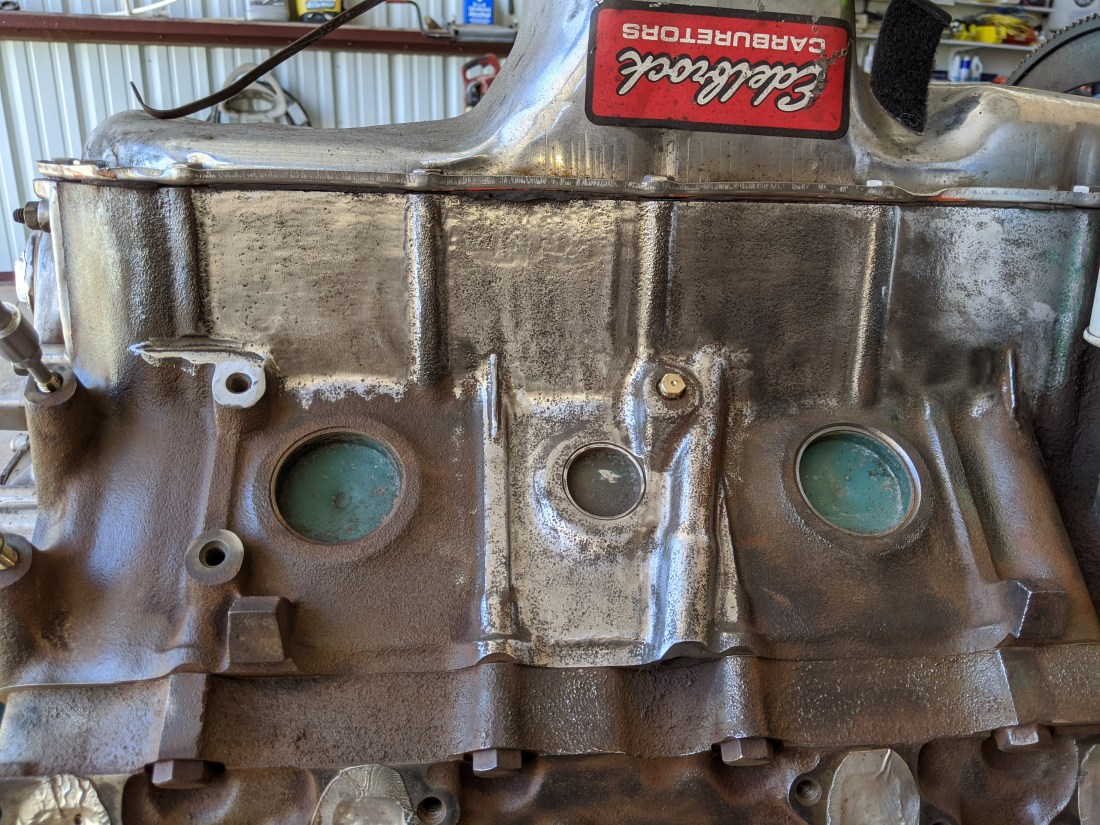
I wanted to make the engine paint job look a step above just a respray so I am grinding and sanding to smooth out the block and heads for a better finish on the final paint. I started with my little 1/2″ detail belt sander to clean up a small area.


With the block and heads cleaned up I removed the temporary valve covers, lifter valley cover, oil pan and front cam gear cover/water pump. With the cooling ports exposed I flushed the motor cooling passages and block water drain.
I installed the freshly blasted oil pan and lifter valley cover. I primered the intake manifold ,valve covers and front cam gear cover


I removed the oil pan, intake manifold,, valley cover, pullies, fan, balancer, valve covers and any other parts that were removable from the block and heads. I had the parts blasted and then cleaned and primed them with VHT engine primer.


For a little contrast I painted the fan, pullies etc on the front of the engine red although my camera and the lighting make the parts appear orange.
I prepared the block and heads using a combination of a small media blaster, Evapo-Rust Gel and wire wheels, grinder and small belt sander to remove all remaining rust, paint, and casting flash.


I primered the block after cleaning up the rust and casting flash


For the heads I will need to media blast with Tractor Supply Black Diamond
When the block and heads are ready I will install all the the primed sheet metal parts and the cast intake and timing chain cover with water pump and fuel pump and the coolent cross over and thermostat and housing.
I can then hang the front dress and starter then prime the block and paint the block VHT Buick Green.
Preparation of the engine for paint means completely removing all dirt and grease from the block, heads, accessories and other metal on the motor including pieces that would have been factory installed before the engine was painted such as the oil filter, fuel pump etc. This process will take many days and hours of scrapping, wire wheeling, sanding, degreassing, , priming and top coating the factory Buick green.


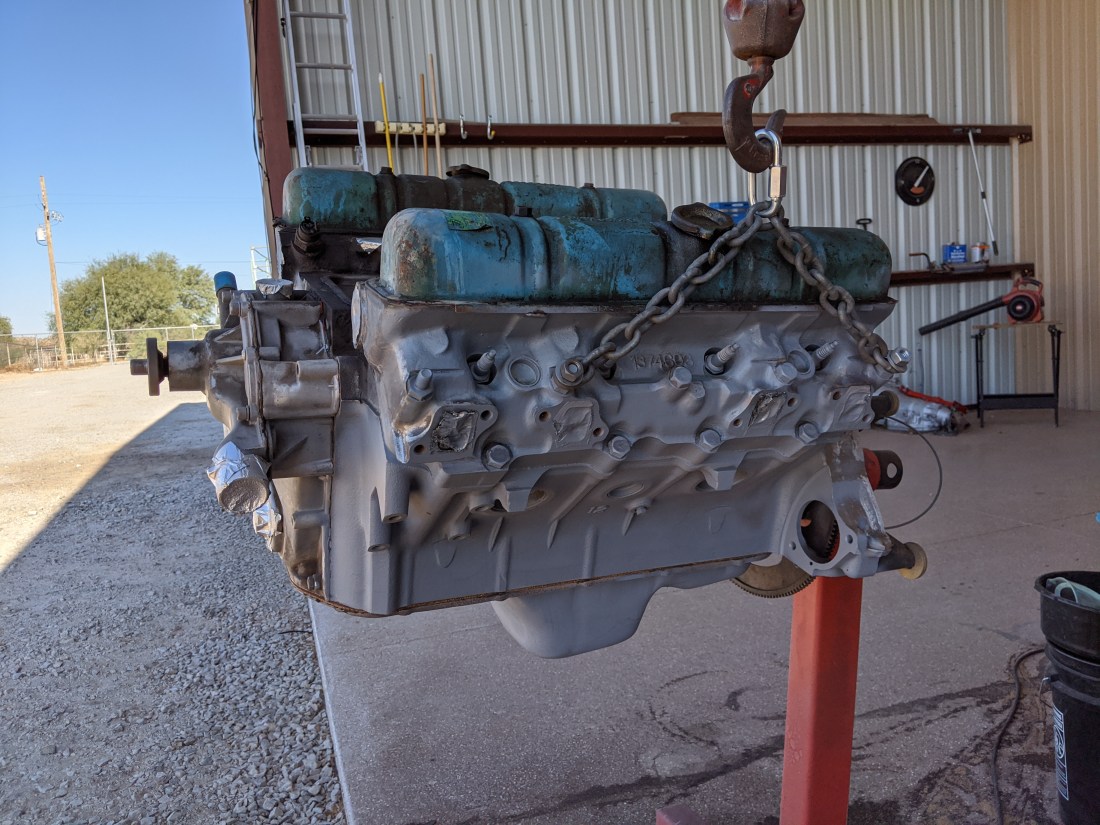
I pulled the engine and separated the TH400 transmission to take it for a check/rebuild/dyno test.


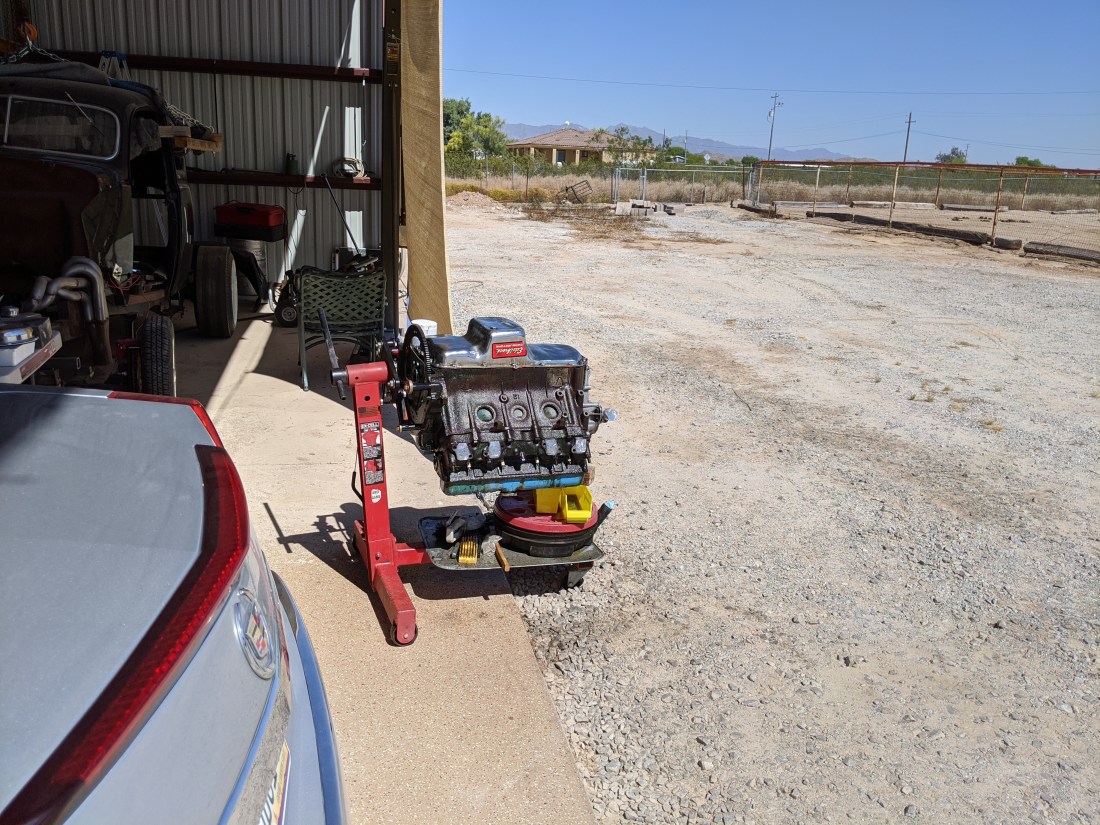
The engine is ready to mount onto the engine stand so that I can drain the oil and anti-freeze so that I can pull the oil pan and oil fliter mount and add them to the pile of stuff going to the media blaster.
I am pulling the engine, separating the transmission for rebuild and I will mount the engine on the stand and pull the headers to go to ceramic coating, and the Valve covers, valley cover, front timing cover and the oil pan for medium blasting before I prime and paint the entire engine after I clean, grind and sand the block, heads etc. When every thing is clean and painted I will add new fuel pump, water pump, gaskets, spark plugs, distributor, plug wires and the rebuilt carburetor when it arrives later in April.


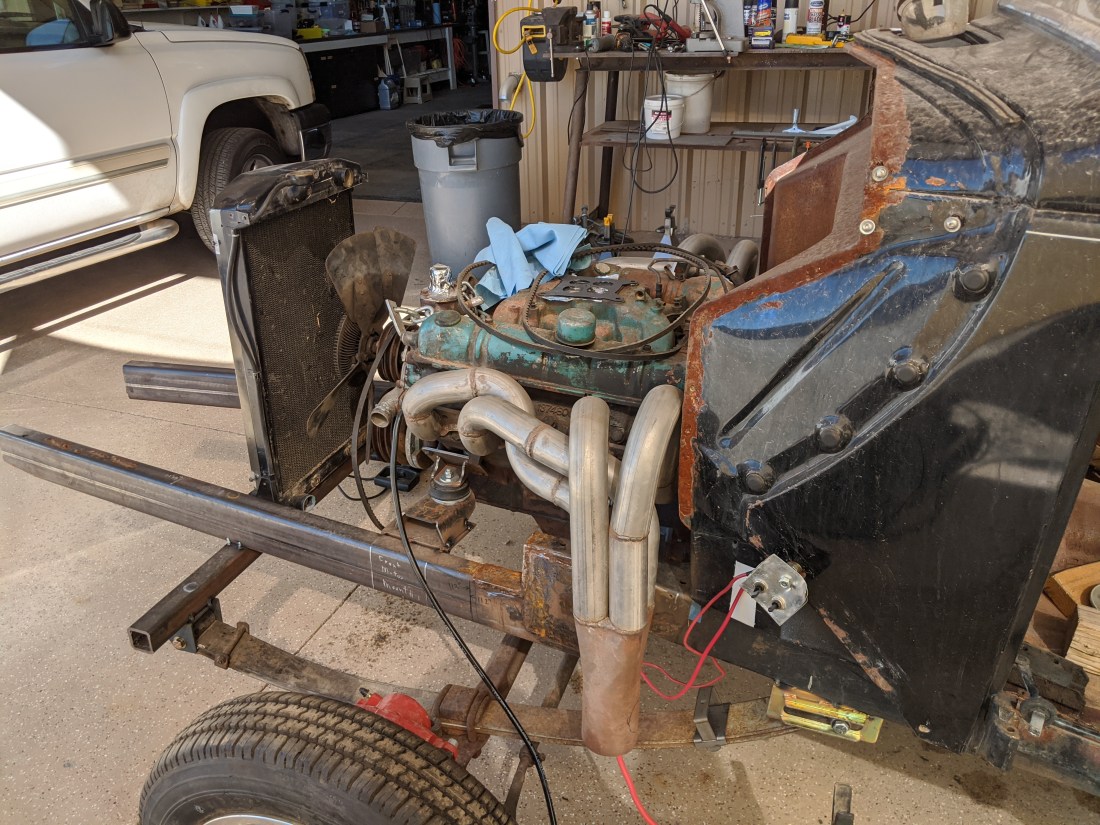
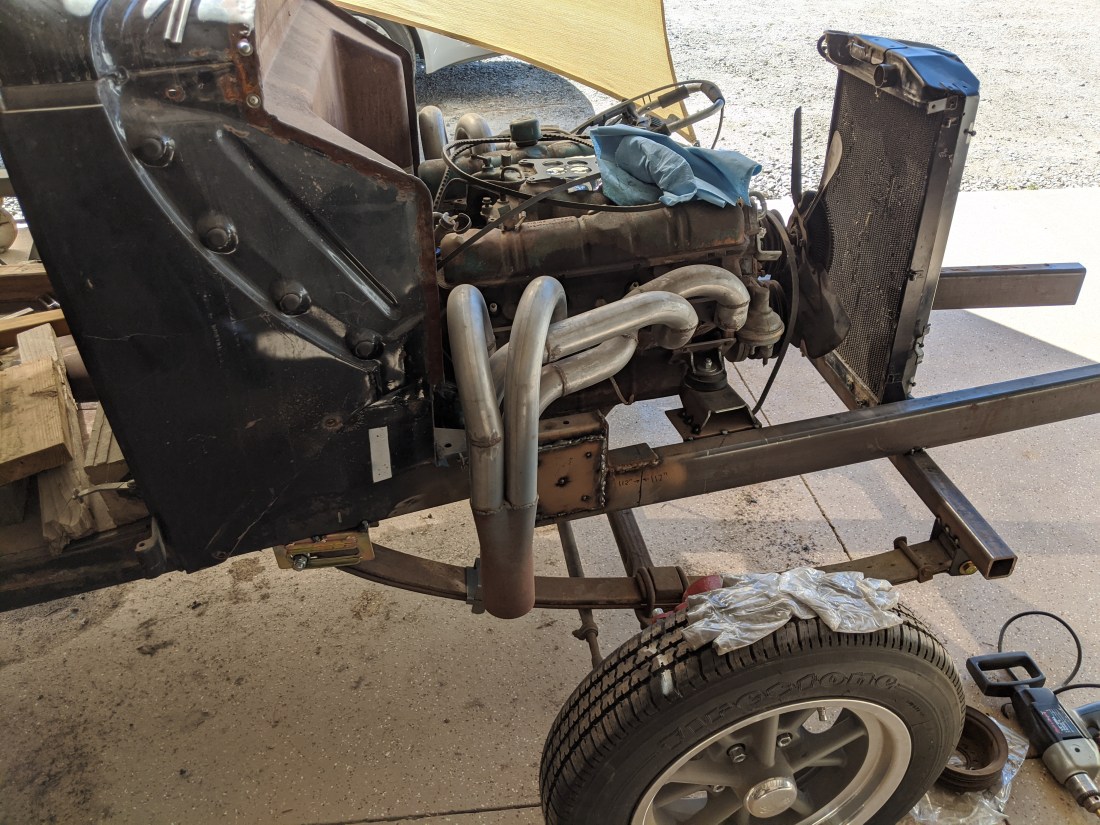
When the transmission is ready I will paint and mount it with the body off so I can mount the radiator, run transmission lines, brake lines and order a drive shaft.
I can then set the timing and rig a temp fuel tank to see if the beast will run again after 20 years of waiting.
I am waiting on a rebuilt AFB carb so I am going to put some time into prepping the motor and Transmission to get them out of the way to finish the welding on the frame and prep it for primer and paint.
I am going to pull the motor and trans and take the TH 400 with switch pitch torque converter to be rebuilt at a shop with a dyno.
While I have the engine out I am going to detail the engine starting with the headers that will be modified with a 3″ elbow and flange before it goes to ceramic coating. I will mount the engine on a stand and grind, and clean to remove casting flash and prep for new water pump, polished valve covers chrome oil pan etc. I will pull the intake and prep it as well and get a new valley finned cover. I will prime and paint the engine with correct Buick green paint


With the front suspension mounted I checked the motor for clearance of the headers and tack welded the motor mounts in place and mounted the radiator with bolt in fabrication to the 2’X2″ cross member for the suspension.
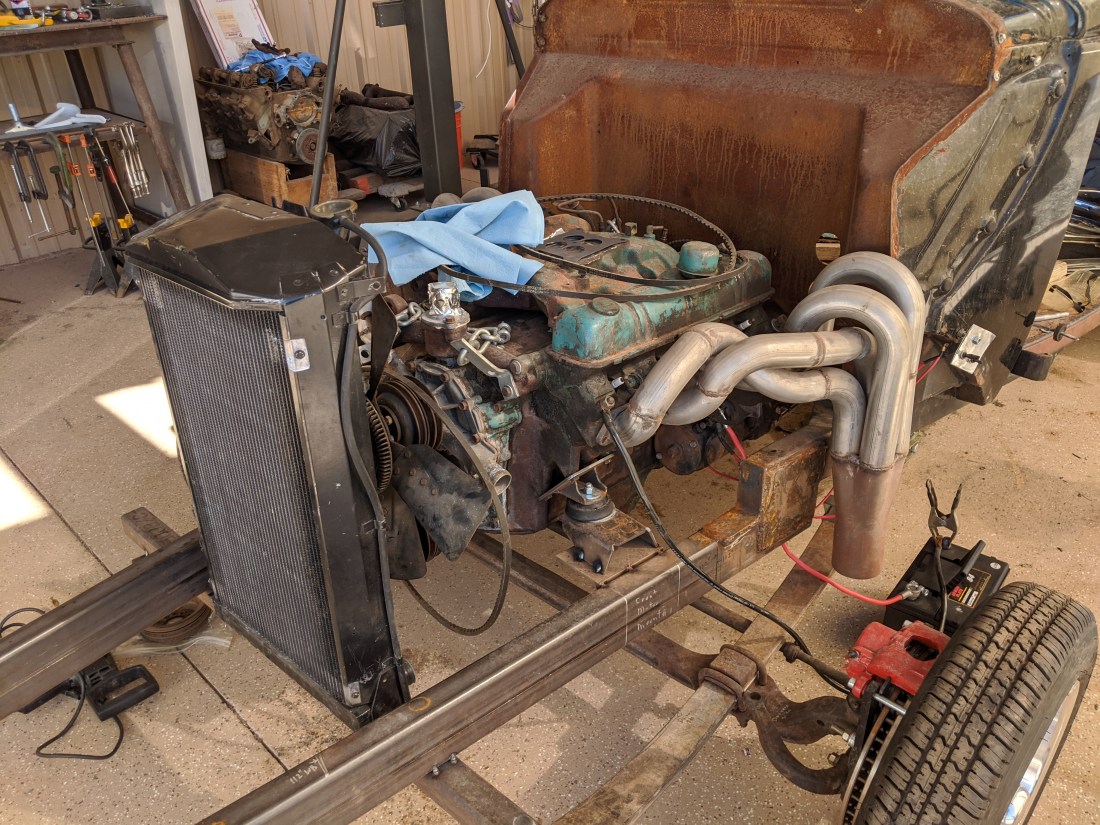

Next Chassis Steps: Mock up steering and set tow in. Remove body for access to the entire frame. Measure frame and chassis components for square, wheel base and rough alignment Measure and order drive shaft. Install rear gas tank. Drain transmission and change filter. Run transmission cooler lines to radiator. Fill transmission and rear end. Design line hanger system for brake and gas lines and rear mount battery. Install distributor, new plugs and plug wires, mount coil. Find cylinder 1 top dead center and set rough timing. Check firing order and wire temp power to distributor. Install rebuild AFB carburetor. Check transmission in neutral and test fire motor, set timing and carb idle, accelerator,, fuel bowl etc. Soda Blast frame, motor, transmission suspension etc, prime and paint frame. Take the summer off when it get hot in the valley of the sun.
